How do I put a golf green in my backyard?
Build your own private golf course
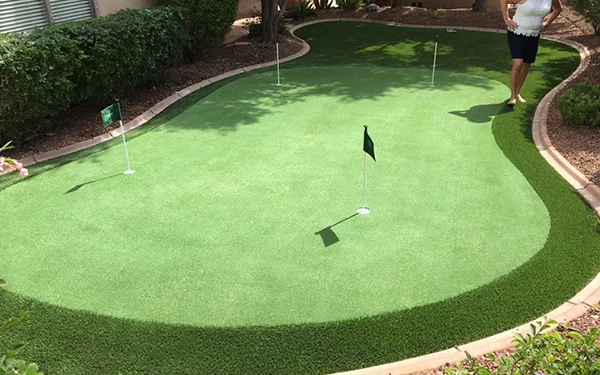
Building a golf green in your backyard can not only improve the quality of life, but also allow you to enjoy the fun of golf at any time. Whether it is for leisure and entertainment or to improve your putting skills, a well-designed green will bring you great satisfaction. The following are detailed construction steps to help you build an ideal backyard golf green.
Considerations Before Starting
Environmental Impact
The choice between natural and artificial turf depends on your site conditions. If your yard has insufficient sunlight, lacks a reliable water source, or is too small, then natural turf can essentially be ruled out unless you are willing to remove trees and make other necessary modifications. Climate is another important consideration. In northern regions with short growing seasons, or areas prone to prolonged droughts or hot and humid weather, maintaining the aesthetics and good performance of natural turf greens can be challenging. Therefore, artificial turf is a more reliable option.
Purpose
Before deciding between natural and artificial turf, carefully consider: Is your backyard putting green just for occasional recreation, or do you genuinely want to improve your golf skills? If the main purpose is to add a unique feature to your backyard and practice putting occasionally, then artificial turf is a good choice. Of course, with advancements in materials, today's artificial greens can also provide a very good putting experience. For iron golfers willing to invest significant money and time, and who have ample space and a suitable environment, natural turf may offer the best experience. So, be sure to clarify: Why do you want a backyard putting green? Will you actually use it frequently?
Artificial turf golf green construction
1. Site selection and planning-determine the best location for the green
Choose a suitable area, which usually meets the following conditions:
Sufficient space: Although the backyard green does not need to be as large as a professional golf course, at least a few square meters of flat area should be reserved.
Terrain requirements: Choose a relatively flat area and avoid excessive slopes to ensure the stability of the putter.
Drainage conditions: Avoid choosing low-lying areas to prevent water accumulation from affecting the use effect.
Sunlight exposure: Ensure sufficient sunlight exposure to maintain the quality and durability of the turf.
You can use spray paint or lime powder to mark the shape and size of the green on the ground. It is usually recommended that the diameter of the green be between 3 and 6 meters to meet different practice needs.
2. Site cleaning - laying the foundation for the green
After planning, the selected area needs to be cleared of obstacles such as weeds, branches, and stones. The specific operations are as follows:
Remove the old lawn: If there is turf in the original area, it can be removed using a turf shovel or lawn mower.
Remove obstacles: Remove uneven parts such as stones and tree roots to ensure a flat ground.
Dig the soil: Dig down the green area appropriately, usually 5-10 cm deep is recommended to facilitate subsequent filling of different base materials.
3. Compact the ground - ensure the stability of the green
After cleaning the site, use a flat plate compactor or manual tamping tool to compact the ground. This helps prevent the foundation from sinking or being uneven after laying the turf.
Preliminary leveling: Use a rake or scraping tool to spread the soil evenly and make the ground smooth.
Compact the ground: Use a compactor or heavy object (such as a bucket filled with water and dragged) to repeatedly roll it to improve the stability of the ground.
4. Adding a base layer - providing a solid support for the green
The base layer of the green determines its drainage performance and service life. The following materials are usually used:
Gravel layer: Lay 5-8 cm thick crushed stone or gravel to improve drainage.
Fine sand layer: Add 3-5 cm thick fine sand on the gravel to make the surface smoother.
When laying, each layer should be spread evenly and compacted with a compactor to ensure that the base layer is stable enough.
5. Laying a weed-proof layer - preventing weeds from eroding the green
To prevent weeds from growing, you can lay a weed-proof cloth on the base layer, or mix herbicides in the fine sand layer. This step helps reduce the trouble of later maintenance.
6. Installing green turf - creating a professional-level putting experience
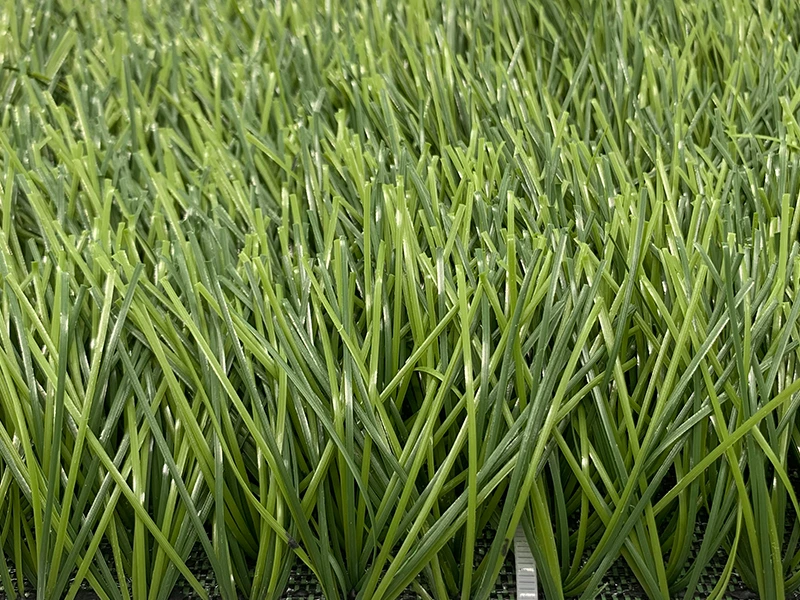
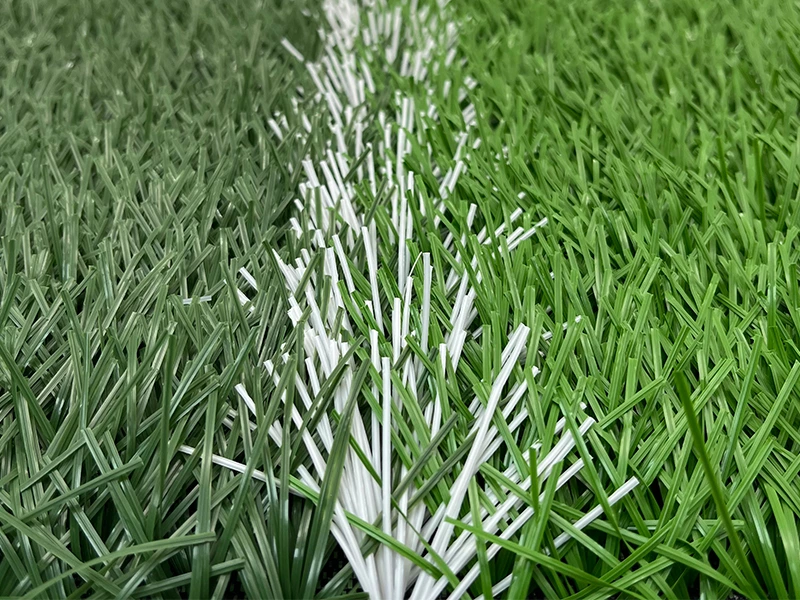
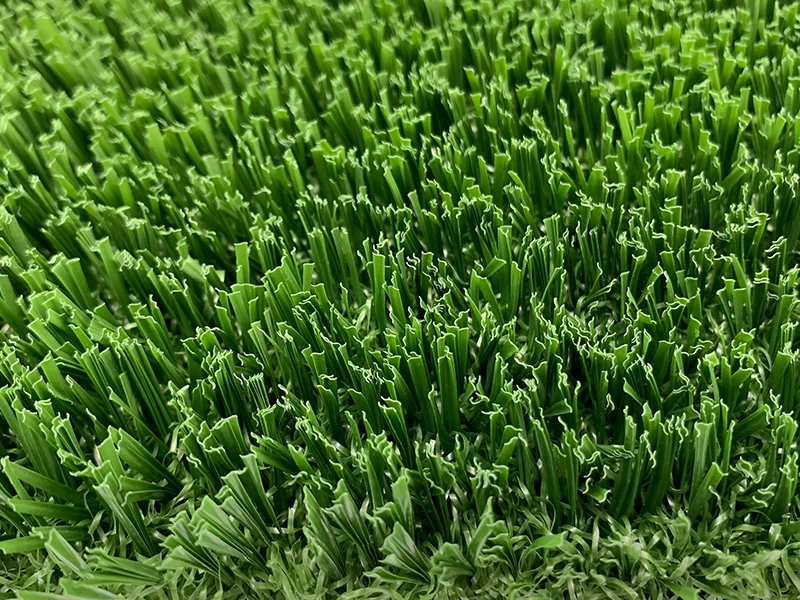
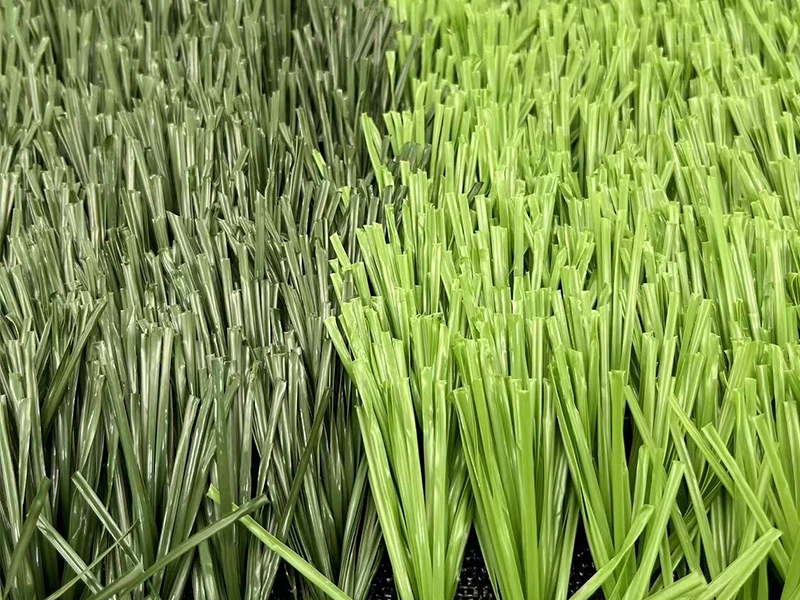
Choose the right artificial turf for golf greens, such as 12-15mm high-density nylon or polyethylene turf, to simulate the rolling effect of a real green. The steps for laying are as follows:
Measure and cut: Cut the artificial turf according to the shape of the green so that it completely covers the green area.
Adhesive fixation: Use professional glue or nails to fix the lawn to ensure there are no wrinkles.
Roller compaction: Use a roller or heavy object to compact the turf so that it fits tightly to the base.
Filling sand (optional): Some high-end greens will sprinkle fine sand on the turf to enhance the rolling effect of the ball.
7. Add green borders and decorations
To make the green more beautiful, you can add edge fences and use wood, masonry or plastic borders to fix the green area to prevent the edges of the turf from curling up. You can also add decorative elements, such as:
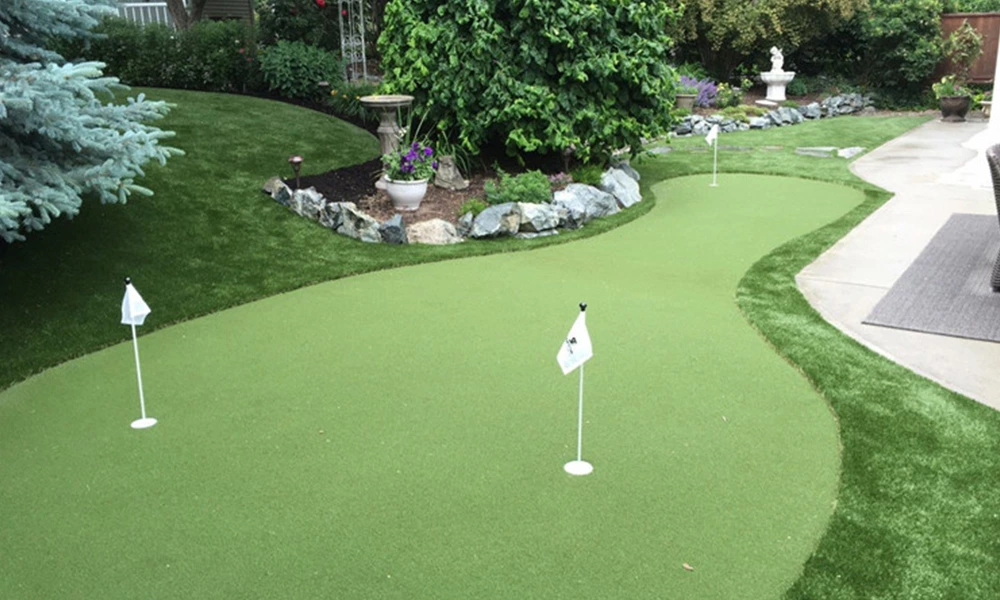
Hole and flagpole: Install standard golf holes and flagpoles to increase the sense of reality.
Hazard area (optional): Such as small sand pits or gentle slopes to increase the challenge of practice.
Landscape embellishment: Such as shrubs, flower beds, cobblestone paths, etc., to enhance the visual beauty.
8. Maintenance and care - ensure the long-term use of the green
In order to keep the green in the best condition, regular maintenance is required:
Regular cleaning: Use a hair dryer or brush to clean fallen leaves, dust and debris.
Brushing and tidying: Use a brush to comb the grass fibers every once in a while to keep it upright and improve the smoothness of the ball rolling.
Check the bonding: Check the grass joints regularly to see if they are firm. If they are loose, repair them in time.
If you use professional golf artificial turf, its durability can reach 5-10 years. With simple maintenance, you can enjoy a high-quality putting experience for a long time.
Build your own backyard golf green
Through the above steps, you can build a professional-grade golf green at home, which can add unlimited fun to your life, whether it is daily practice or leisure entertainment. With careful planning, selection of high-quality turf, and regular maintenance, your backyard green will become a sports paradise for family and friends to enjoy together!

